de_DE
de_DE
The first step is to import the root certificate of the HamCloud VPN server:
- Download the root certificate here and save it to the desktop.

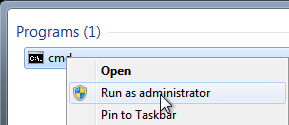
- Click the Windows Start Button and type “cmd” into the search box.

- Right click on “cmd” and select “Run as administrator”.
- Type the following command into the console to import the HamCloud Root Certificate (Replace “demo” with your current user name of the Windows 7 PC).
certutil -addstore "Root" "c:\users\demo\desktop\hamcloud-vpn-root-ca.cer"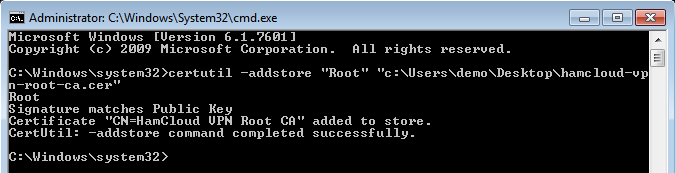
- Keep the console window open since another command needs to be executed after the VPN connection has been established.
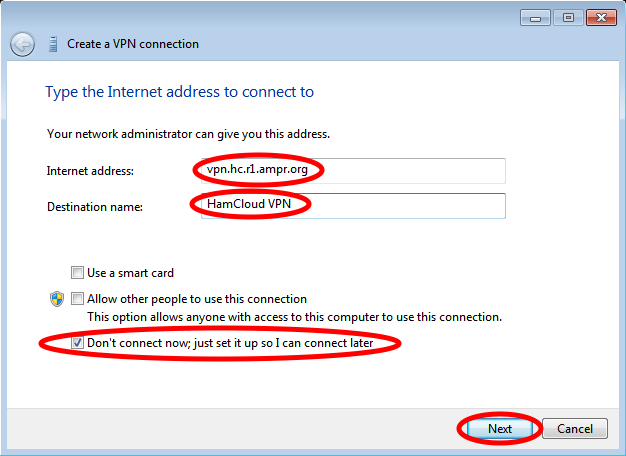
The second step is to create a new VPN connection:
- Click the Windows Start Button, type “vpn” into the seach box and click on “Set up a virtual private network (VPN) connection”.

- Use “vpn.hc.r1.ampr.org” as the “Internet address”, “HamCloud VPN” as the “Destination Name”, select “Don’t connect now; just set it up so I can connect later” and click “Next”.
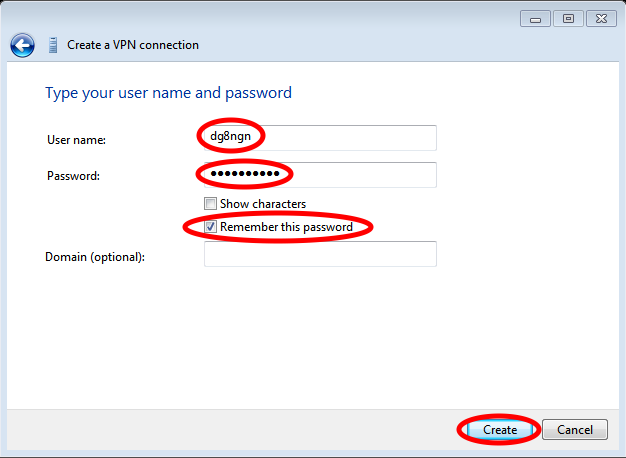
- Enter User name and Password from your VPN credentials, select “Remember this password” and click “Create”.
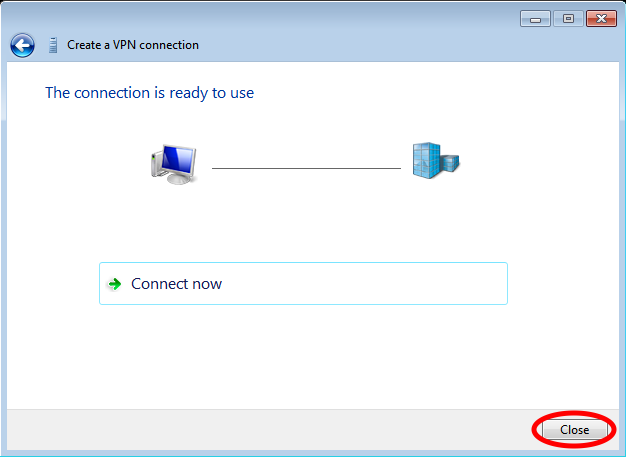
- Close the dialog.
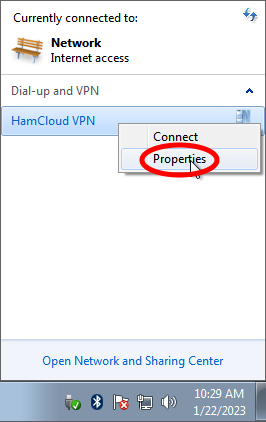
- Click on the network icon at the system tray.

- Right click “HamCloud VPN” and select “Properties”.
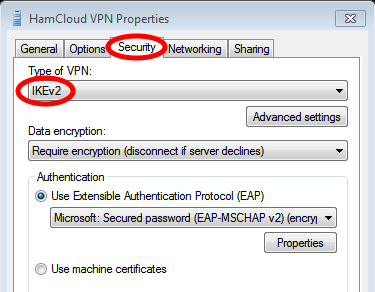
- Select the tab “Security” and change the “Type of VPN” to “IKEv2”.
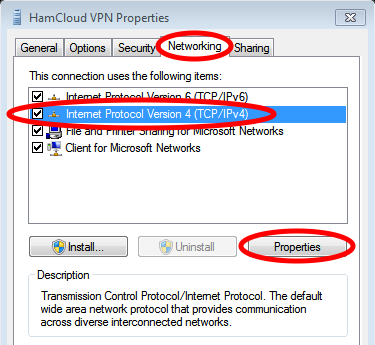
- Select the tab “Networking”, click on “Internet Protocol Version 4 (TCP/IPv4)” and select “Properties”.
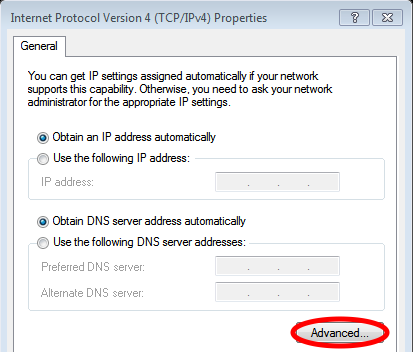
- Click on “Advanced…”.
- Deselect “Use default gateway on remote network” and select “Disable class based route addition”.
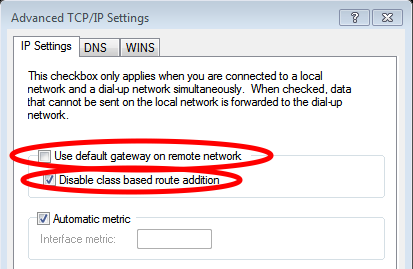
- Close all dialogs with “OK”.
The next step is to establish the VPN connection:
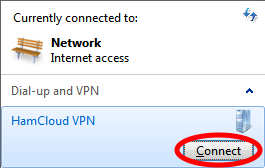
- Click on the network icon at the system tray.
- Select “HamCloud VPN” and click “Connect”.
- Click on “Connect”.

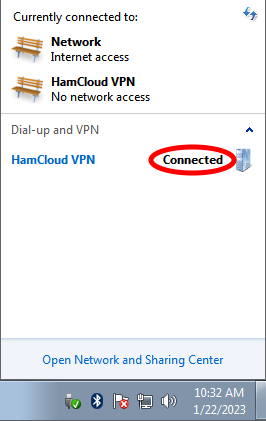
- Click on the network icon at the system tray to check whether the connection has been established or not.
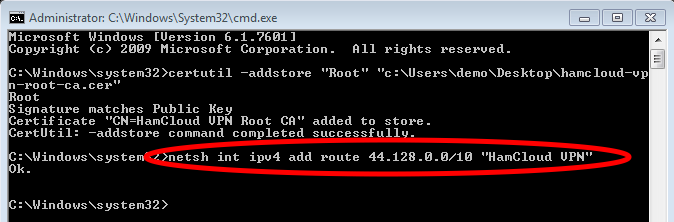
The last step is to add the route to the HAMNET:
- Change back to the console window and type the following command.
netsh int ipv4 add route 44.128.0.0/10 "HamCloud VPN"